Video Table Post Production
In a previous posting we talked about how the in-table hole camera system was tested and built. This article discusses the post processing that takes place to make the ESPN/WSOP/WPT style videos.
| Step 1. Getting the videos | |||||||
|
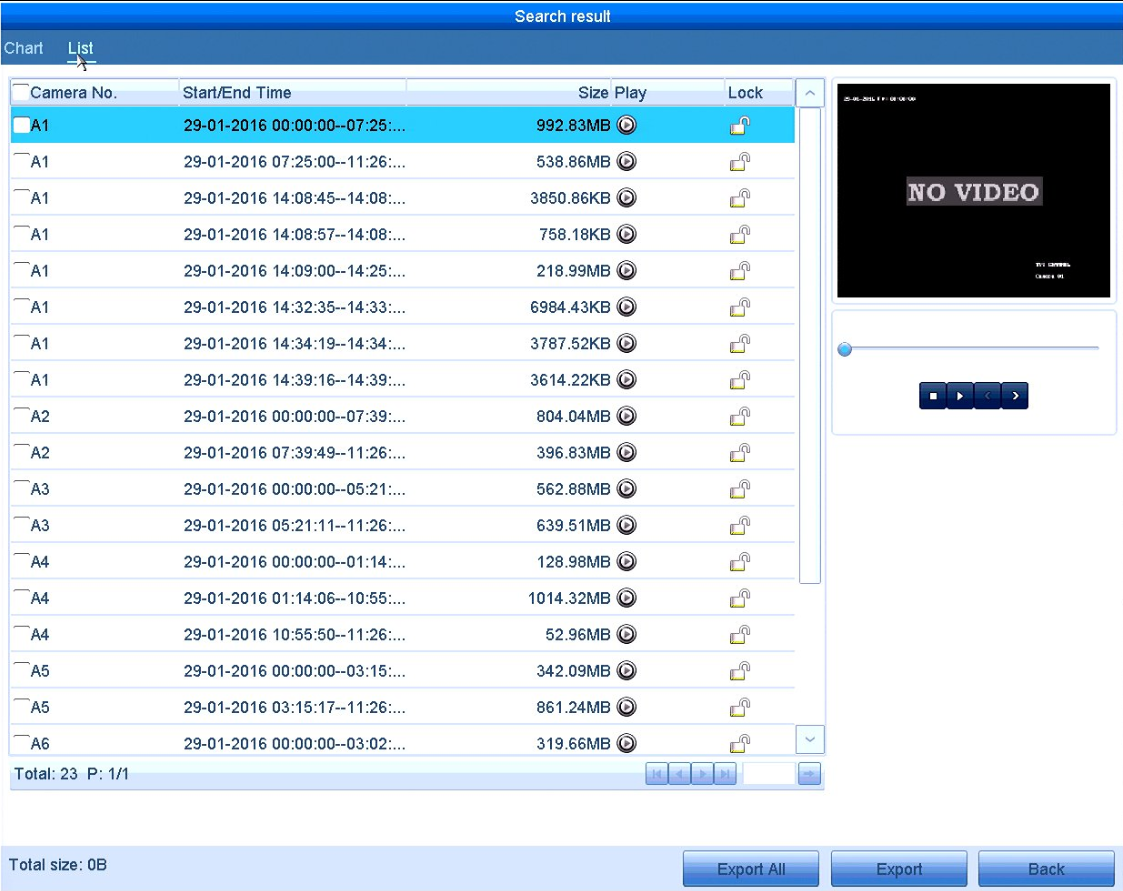
Because the hole camera system is in truth a security camera system we power up the DVR and go the the Export feature. This allows us to select the camera(s) and time frames to export. For our system this meant 9 cameras with roughly 2 hours and 25 minutes each. Thats 21 hours and 45 minutes of video. We export this in MP4 format. The process was quick and the only limiting factor is the size of the USB drive you have. |
 |
||||||
| Step 2. Convert video | |||||||
|
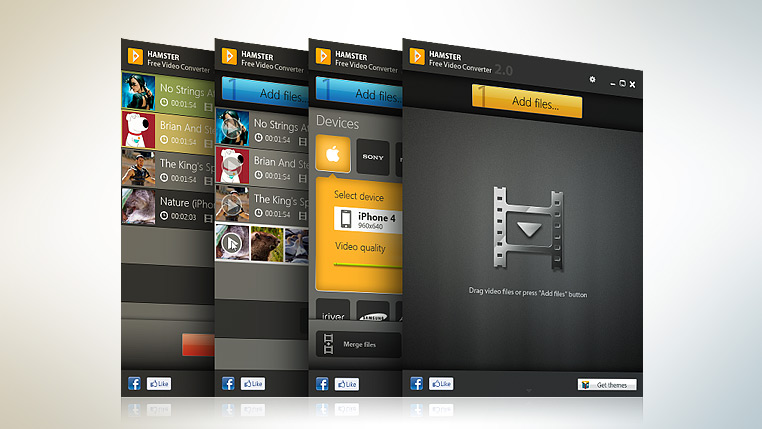
Oddly enough the direct export to MP4 does not allow us to import this into our video editing software. (unknown format???) To this end we use a freeware tool called Hamster. We load in our MP4 files and export to MP4. (same but…) After the “conversion” we are now able to import into the editing software. This is not a fast process by any means. Our fastest system can convert 1 minute of video in 90 seconds. We happen to have a few laptops laying around so we had multiple laptops converting software at once to reduce the time required. |
 |
||||||
|
UPDATE: Due to a computer upgrade, and Windows 10, I was unable to run Hampster (which is still an amazing application). The new laptop is much faster than the one that died. We are now converting 1 minute of video in roughly 14 seconds. :) |
 |
||||||
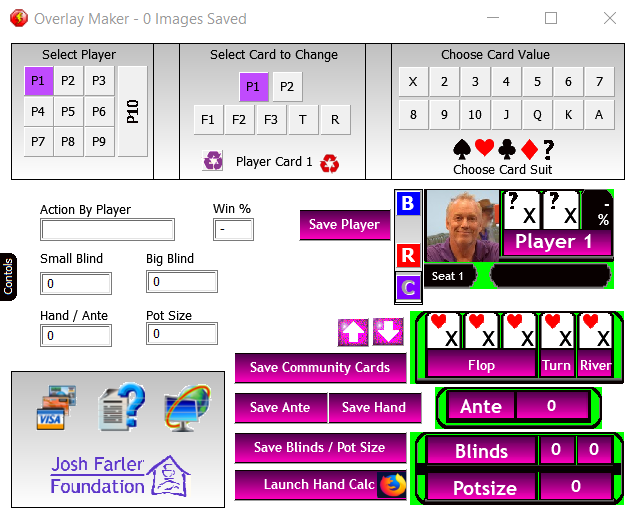
| Step 3. Write software | |||||||
|
Because we knew we wanted to have on-screen graphics (ala ESPN) and there would be A LOT of them we thought about the best way to do this A LOT. Using something like Photoshop would mean saving a lot of templates and would be time consuming. In the end it was just easier to write our own software to create the overlays. This was done in Clickteam’s Multimedia Fusion. This is an easy to use programming tool that is easy to learn. Our software loads the final players images/names, and allows the options for Small/BIg blinds, pot size, and community cards. The system also allowed a single click option to launch the webpage https://www.cardplayer.com/poker-tools/odds-calculator/texas-holdem. (thank you cardplayer.com for making this tool available - it is one of the best we have seen) Ultimately we created over 200 overlays for the first 8 videos created. (the 9th thru 2nd place finalist) Truth be told we created over 300 but many were incorrect and were remade as we edited film. We thank the Metro Detroit Poker Series group for their feedback which was incorporated into version 3 to the current version. Version 9 allows you to create graphics for Omaha. Version 10 corrected a 1 pixel placement error. This software is made available as "Donationware". If you would like to use the software please consider donating to the Josh Farler Foundation via Paypal below.
|
Click HERE for direct access to the online help file which contains the change log. |
||||||
| Step 4. Edit the video | |||||||
|
Using another GREAT free tool called Hitfilm Express we created a new project for each hand. This tool is simply amazing. You can use multiple channels for video and audio. As the hand is built up from various segments from the hole card camera footage we use the overlay software from step 3 to create the various overlays. These are then positioned, scaled, and used a short 15 frame fade in for each new element. It is important to note that the overlay creator uses a green background in places we intend to have see thru. Adding a green screen effect removes this from the imported image. :) (movie magic) Once the overlays were correct (fade in and chopped when needed) it was time for audio. The ambient sound is a freeware piece called “Casino Background” and we ultimately chopped out a small annoying portion which we intentionally left in the 9th Place video. This track is set to -6 db to lower the volume and looped for the length of the video. To create the voice over we simply sat in front of the editor with the volume off. While playing the video in the editor we used an iPhone to record our commentary. A quick upload to Google drive and back down to the PC and we had our voice track. Its not the best but... At the end of the editing process is the rendering which is where you wait for several minutes to see if it all worked out. After many exports we were happy with the results. Sure there are a few remaining errors but if you can criticize them then you can do better, right? |
 |
||||||
| Step 5 Youtube | |||||||
|
Once a video is rendered and accepted (many many renderings) we upload to Youtube. This allows several things to occur. Youtube stores and delivers the product, we can easily embed the video in our website, allows wider reach of our message, and allows other enhancements. One issue with Youtube is the use of copyright music. We understand this and found a site called Purple-Planet.com. There are several genres to choose from and we selected one for the overhead camera time lapse and the final credits. |
 |
||||||
| Our many thanks to everyone who suffered our continous talking about our progress as we worked. I am sure we drove friends and family crazy. | |||||||